tl;dr A step-by-step tutorial to generate art pieces from a text prompt.
Practical Machine Learning - Learn Step-by-Step to Train a Model
A great way to learn is by going step-by-step through the process of training and evaluating the model.
Hit the Open in Colab button below to launch a Jupyter Notebook in the cloud with a step-by-step walkthrough.
![]()
Continue on if you prefer reading the code here.
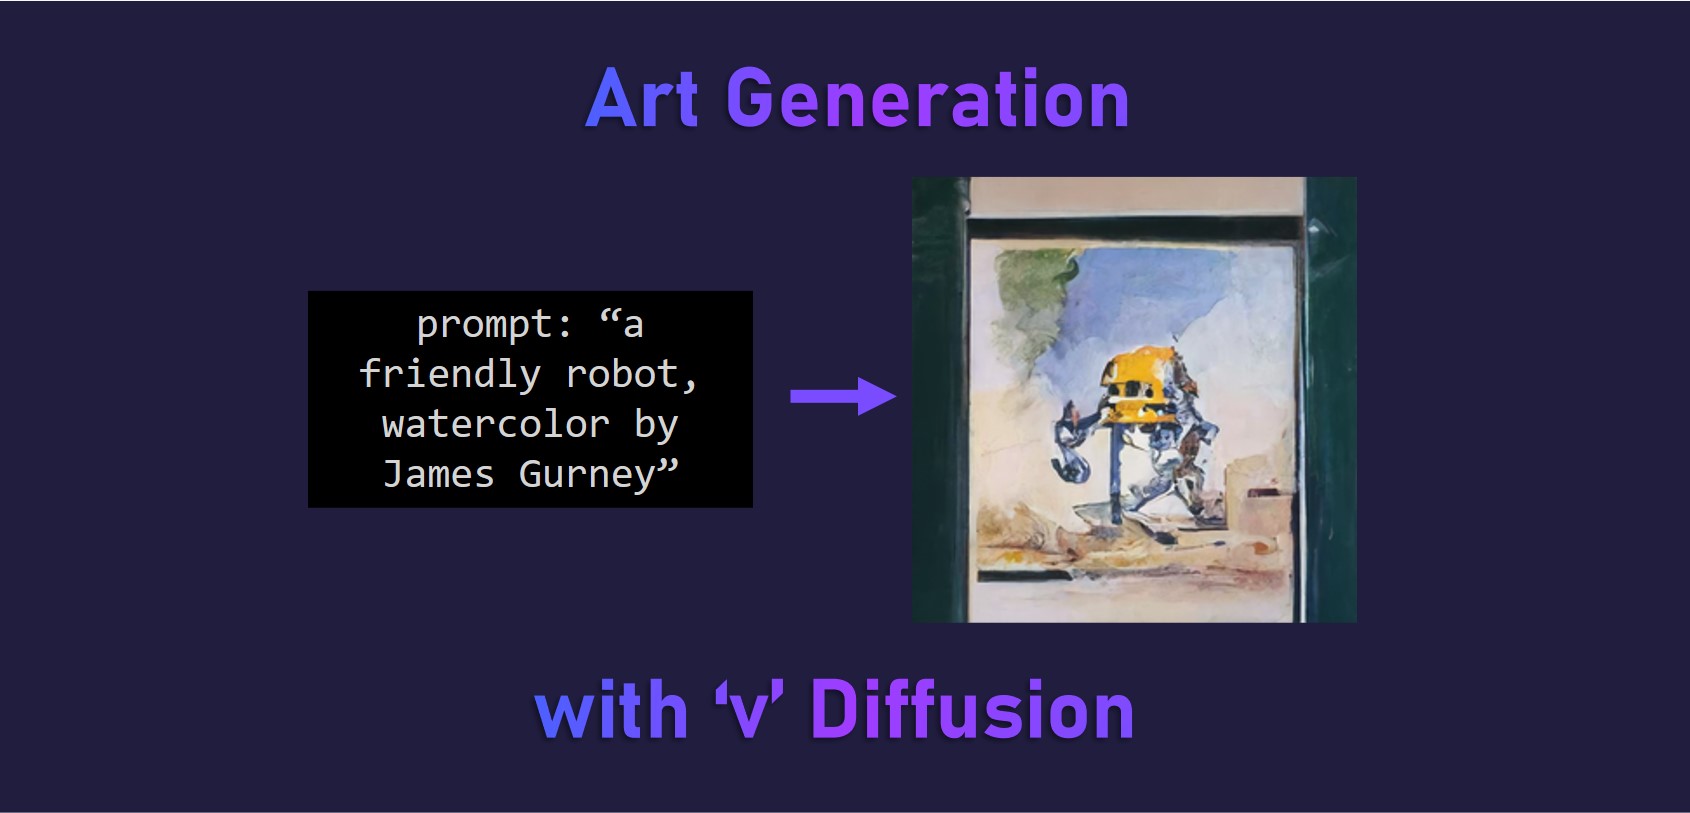
Art Generation with v Diffusion
Notebook to generate artwork from an input prompt using a pre-trained model.
We utilise the awesome v-diffusion-jax library from the brilliant Katherine Crowson (@RiversHaveWings) and Chainbreakers AI (@jd_pressman) with the pre-trained model to generate 256x256 art works. The model was trained on wiki art.
The models are denoising diffusion probabilistic models, which are trained to reverse a gradual noising process, allowing the models to generate samples from the learned data distributions starting from random noise. DDIM-style deterministic sampling is also supported. The models are also trained on continuous timesteps. They use the ‘v’ objective from Progressive Distillation for Fast Sampling of Diffusion Models, hence the v in v-diffusion.
The notebook is structured as follows:
- Setting up the Environment
- Using the Models (Running Inference)
Setting up the Environment
Ensure we have a GPU runtime
If you’re running this notebook in Google Colab, select Runtime > Change Runtime Type from the menubar. Ensure that GPU is selected as the Hardware accelerator.
The models do require a GPU to run in a decent amount of time.
Setting up the Dependencies
First we will clone the v-diffusion-jax git repository from github and include --recursive so we get the CLIP-JAX repo as well.
!git clone --recursive https://github.com/crowsonkb/v-diffusion-jax.git
Next we install the required packages using pip.
%cd v-diffusion-jax/
!pip install -qr requirements.txt
Using the Model (Running Inference)
First we download the checkpoint weights from the pre-trained model.
We want to create a checkpoints folder and download the model. We are using the wikiart_256 model checkpoint.
!mkdir -p checkpoints
!wget -O checkpoints/wikiart_256.pkl https://v-diffusion.s3.us-west-2.amazonaws.com/wikiart_256.pkl
Next we run inference to generate our image from the prompt, using CLIP to guide the v diffusion. Feel free to change the input prompt and seedarguments.
It should take awhile to run the 1000 iterations.
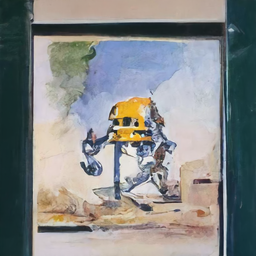
!./clip_sample.py "a friendly robot, watercolor by James Gurney" --model wikiart_256 --seed 0
Our generated artwork is saved as out_00000.png, let’s view it in our notebook.
import cv2
from google.colab.patches import cv2_imshow

cv2_imshow(cv2.imread('./out_00000.png'))
We can connect to Google Drive with the following code. You can also click the Files icon on the left panel and click Mount Drive to mount your Google Drive.
The root of your Google Drive will be mounted to /content/drive/My Drive/. If you have problems mounting the drive, you can check out this tutorial.
from google.colab import drive
drive.mount('/content/drive/')
You can move the output files which are saved in the /content/ directory to the root of your Google Drive.
import shutil
shutil.move('/content/v-diffusion-jax/out_00000.png', '/content/drive/My Drive/sample.jpg')
More Such Notebooks
Visit or star the eugenesiow/practical-ml repository on Github for more such notebooks:
Alternatives to Colab
Here are some alternatives to Google Colab to train models or run Jupyter Notebooks in the cloud: