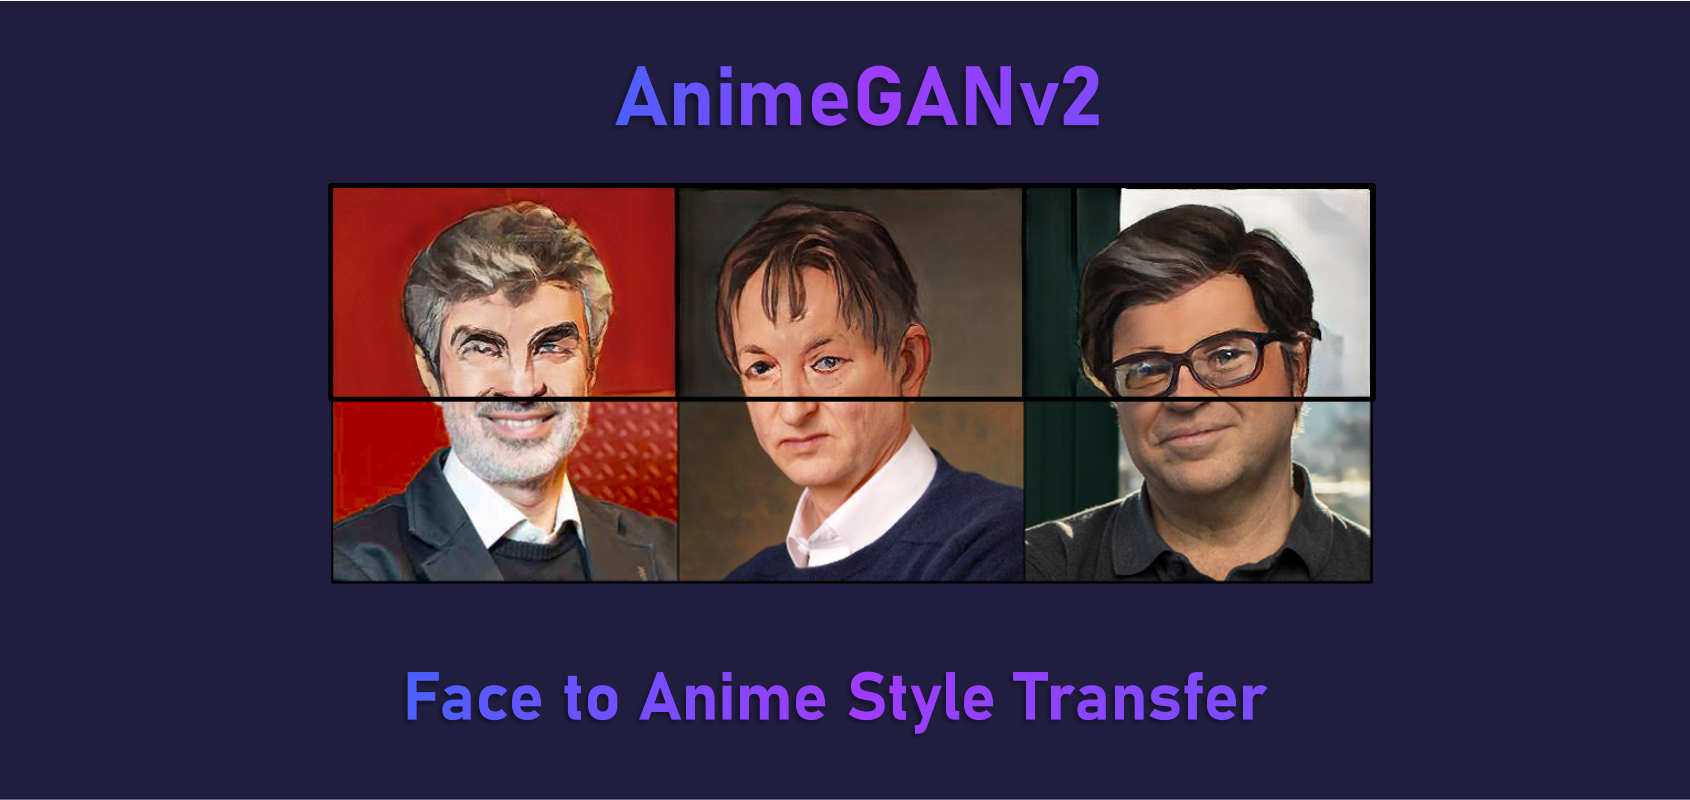
tl;dr A step-by-step tutorial to use AnimeGANv2 models to automatically convert faces in photos to anime style faces.
Practical Machine Learning - Learn Step-by-Step to Train a Model
A great way to learn is by going step-by-step through the process of training and evaluating the model.
Hit the Open in Colab button below to launch a Jupyter Notebook in the cloud with a step-by-step walkthrough.
![]()
Continue on if you prefer reading the code here.
Face to Anime with AnimeGANv2
Notebook to convert faces from photos to anime style faces. If you haven’t already, you should totally check out this demo on huggingface spaces by Ahsen Khaliq. The original repository and checkpoints are from this animegan2-pytorch repository on Github by bryandlee. The work to put this on torchhub was done by xhlulu.
Currently the pre-trained models (checkpoints) available to use on this notebook are:
- celeba distill
- Face Portrait v2
- Face Portrait v1
- Paprika
The notebook is structured as follows:
- Setting up the Environment
- Getting Data
- Using the Model (Running Inference)
Setting up the Environment
Dependencies and Runtime
If you’re running this notebook in Google Colab, all the dependencies are already installed.
If you decide to run this on many (>thousands) images and want the inference to go faster though, you can select Runtime > Change Runtime Type from the menubar. Ensure that GPU is selected as the Hardware accelerator.
Getting Data
Getting an image to run through AnimeGANv2
- Demis Hassabis, co-founder of DeepMind. From Twitter.
We’ll save this image to our local storage and view a preview of it in our notebook.
import cv2
from urllib.request import urlretrieve
from google.colab.patches import cv2_imshow

# save the image to our local storage
urlretrieve('https://pbs.twimg.com/profile_images/691700243809718272/z7XZUARB_400x400.jpg', '/content/demis.jpg')

# display the image in the notebook
cv2_imshow(cv2.imread('/content/demis.jpg'))

Using the Model (Running Inference)
First we load a model and define a function that will use the model to do the style transfer to convert our face to anime.
torch.hub.load- Loads the pre-trained model checkpoints and the model code from github. We first load theface_paint_512_v2model weights.to_animegan2- The function we define that takes in the input file path, loads it with PIL and converts it to a tensor. It then runs this tensor through the model and converts the tensor output back to a PIL image. The PIL image is returned from the function.
import torch
from PIL import Image
from torchvision.transforms.functional import to_tensor, to_pil_image

device = torch.device("cuda" if torch.cuda.is_available() else "cpu")
model = torch.hub.load("bryandlee/animegan2-pytorch:main", "generator", pretrained="face_paint_512_v2", device=device)
model.eval()

def to_animegan2(input_file):
  input_image = Image.open(input_file).convert('RGB')
  input_tensor = to_tensor(input_image).unsqueeze(0) * 2 - 1
  output = model(input_tensor.to(device)).cpu()[0]
  output = (output * 0.5 + 0.5).clip(0, 1)
  return to_pil_image(output)
Run the to_animegan2 function on the photo of Demis that we downloaded previously, then display the output.
pil_image = to_animegan2('/content/demis.jpg')
display(pil_image)
Next, let’s try a different model, the celeba_distill model. Let’s load the model using torch.hub.load and run the original Demis image through our function and display the output.
model = torch.hub.load("bryandlee/animegan2-pytorch:main", "generator", pretrained="celeba_distill", device=device).eval()
display(to_animegan2('/content/demis.jpg'))

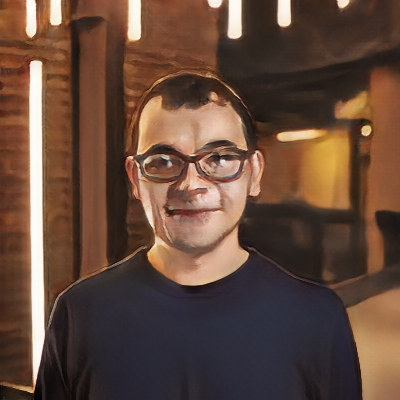
Now let’s try the parpika model. Instead of directly outputting our output image to display, we instead save the image to our notebook/colab disk as /content/demis_paprika.jpg. We then display the image from disk.
model = torch.hub.load("bryandlee/animegan2-pytorch:main", "generator", pretrained="paprika", device=device).eval()
to_animegan2('/content/demis.jpg').save("/content/demis_paprika.jpg")
cv2_imshow(cv2.imread('/content/demis_paprika.jpg'))

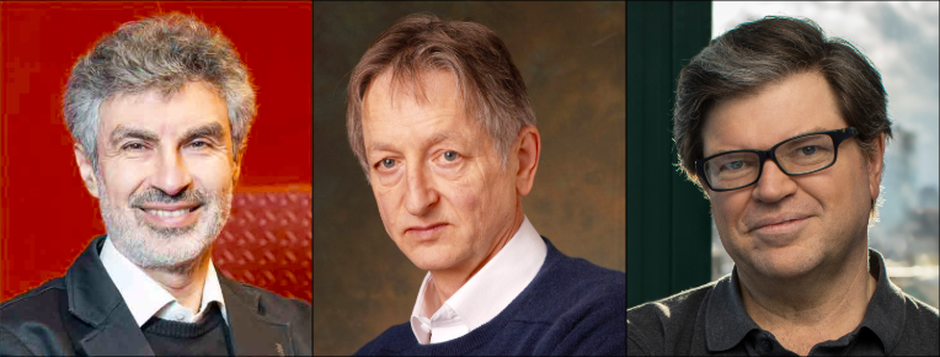
Let’s get another image, this time using the torch.hub.download_url_to_file function to download an image of the AI godfathers and save it to disk. We then display this original image.
torch.hub.download_url_to_file('https://www.cnet.com/a/img/LxPnVvP4ONxWlQmXOI4j-9m6d90=/940x0/2019/03/27/c36a11ff-4029-4eb2-8ca9-72143ea8e596/screen-shot-2019-03-27-at-11-51-29-am.png', '/content/godfathers.jpg')
cv2_imshow(cv2.imread('/content/godfathers.jpg'))
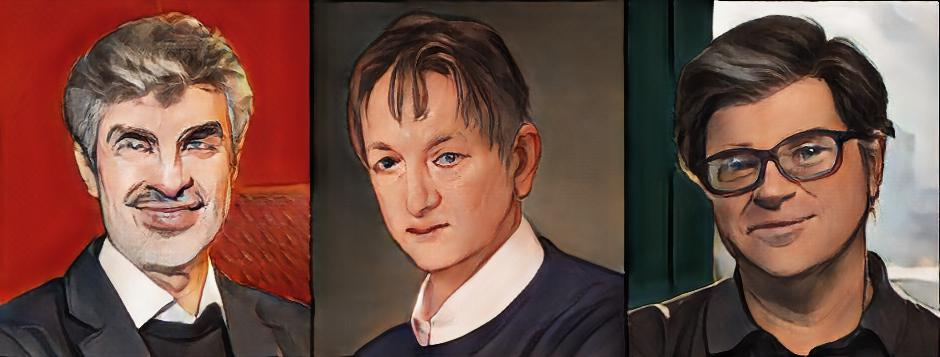
Let’s try running it with the paprika model and saving the output.
to_animegan2('/content/godfathers.jpg').save("/content/godfathers_paprika.jpg")
cv2_imshow(cv2.imread('/content/godfathers_paprika.jpg'))
We can connect to Google Drive with the following code. You can also click the Files icon on the left panel and click Mount Drive to mount your Google Drive.
The root of your Google Drive will be mounted to /content/drive/My Drive/. If you have problems mounting the drive, you can check out this tutorial.
from google.colab import drive
drive.mount('/content/drive/')
You can move the output files which are saved in the /content/ directory to your Google Drive.
import shutil
shutil.move('/content/godfathers_paprika.jpg', '/content/drive/My Drive/godfathers_paprika.jpg')
More Such Notebooks
Visit or star the eugenesiow/practical-ml repository on Github for more such notebooks:
Alternatives to Colab
Here are some alternatives to Google Colab to train models or run Jupyter Notebooks in the cloud: