tl;dr A step-by-step tutorial to automatically generate subtitles from a video using audio segmentation and Wav2Vec2.
Practical Machine Learning - Learn Step-by-Step to Train a Model
A great way to learn is by going step-by-step through the process of training and evaluating the model.
Hit the Open in Colab button below to launch a Jupyter Notebook in the cloud with a step-by-step walkthrough.
![]()
Continue on if you prefer reading the code here.
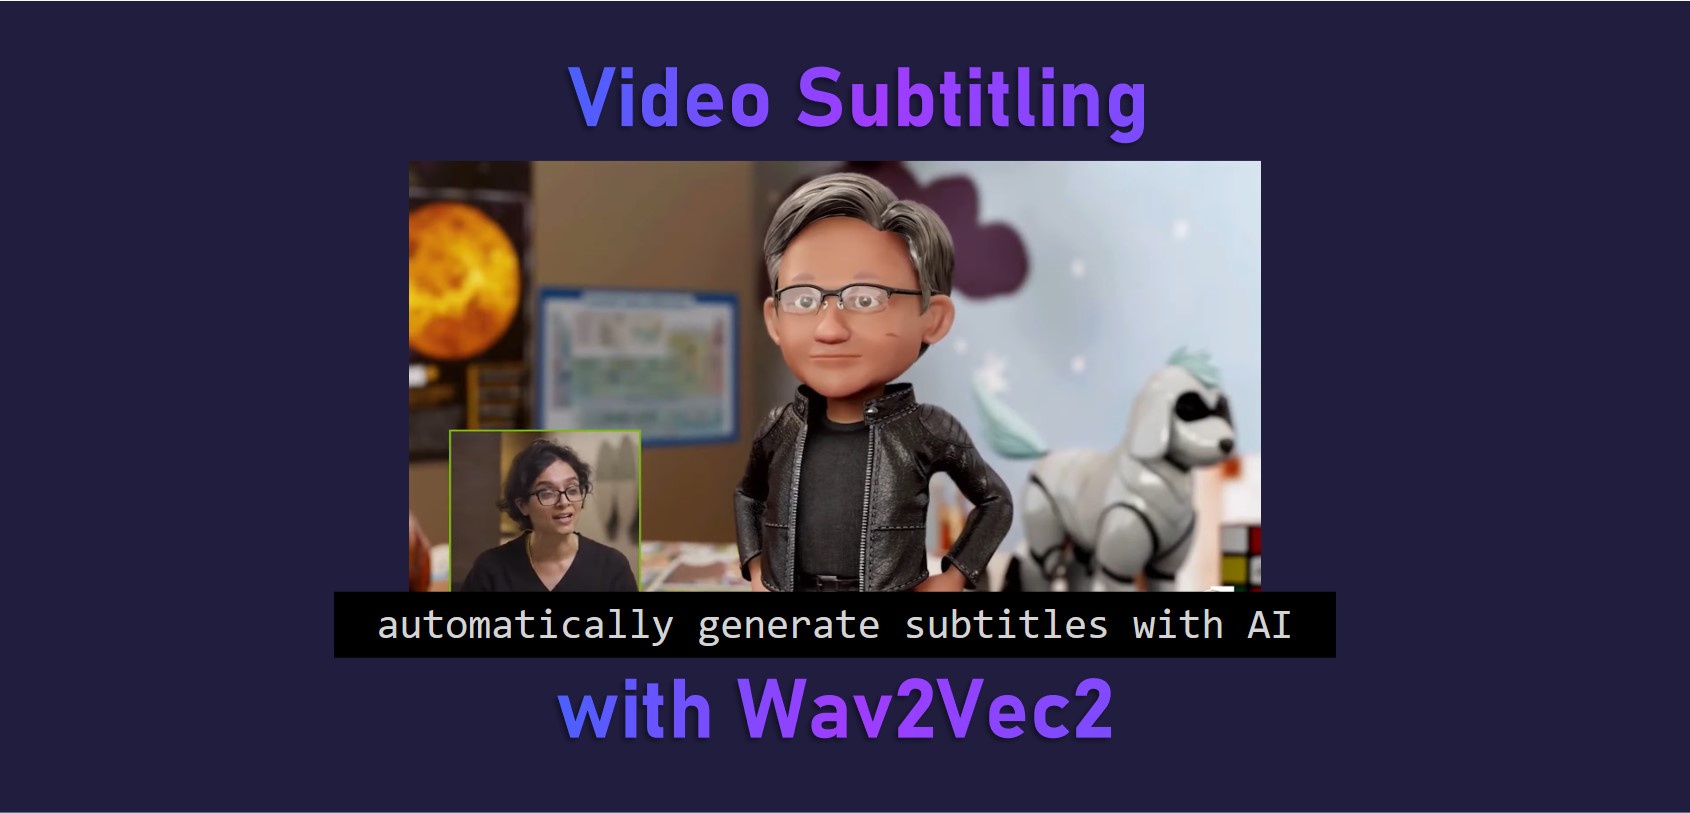
Video Subtitling with Wav2Vec2
Notebook to automatically generate subtitles from a video using Wav2Vec2.
The notebook consists of a few steps to generate the subtitles. First the audio of the video needs to be extracted and segmented. Then Speech Recognition, the task of recognising speech within audio and converting it into text, is performed on the segments. The text output is used to generate a subtitles file which is then rendered on the video.
The notebook is structured as follows:
- Setting up the Environment
- Getting Data
- Using the Models (Running Inference)
Setting up the Environment
Setting up the Dependencies
First we pip install the required dependencies. This downloads and installs the python libraries required from the PyPi repository online.
!pip install -qq transformers soundfile auditok torch pytube
Getting Data
Getting a Video from Youtube
- Video of Jensen Huang, CEO of Nvidia, talking about new technologies like conversational AI at the GTC 2021 Fall Keynote.
# Youtube video URL
video_url = 'https://www.youtube.com/watch?v=oY4RjiKHACo'
We’ll download this video to our local notebook storage using pytube. We are downloading a progressive version, a version with both audio and video.
from pytube import YouTube

# Choose a video stream with resolution of 360p
# streams = YouTube(video_url).streams.filter(adaptive=True, subtype="mp4", resolution="360p")
streams = YouTube(video_url).streams.filter(progressive=True, subtype="mp4", resolution="360p")

# Check if there is a valid stream
if len(streams) == 0:
  raise "No suitable stream found for this YouTube video!"

# Download the video as video.mp4
print("Downloading...")
streams[0].download(filename="video.mp4")
print("Download completed.")
Using the Model (Running Inference)
First we extract the audio track from the video and save it as a .wav file.
We use the ffmpeg application to do this extraction. On colab, ffmpeg is already pre-installed in the environment. So we just use Python’s subprocess to call ffmpeg to extract the audio.
We then display an audio player in the notebook to listen to the extracted audio.
import subprocess
from pathlib import Path
from IPython.display import Audio, display

audio_directory = './temp_audio/'

def extract_audio(input_file):
  Path(audio_directory).mkdir(parents=True, exist_ok=True)
  audio_file = audio_directory+'/temp.wav'
  command = ["ffmpeg", "-i", input_file, "-ac", "1", "-ar", "16000","-vn", "-f", "wav", audio_file]
  subprocess.run(command)

extract_audio('video.mp4')
display(Audio(audio_directory+'/temp.wav'))
Next we use the auditok library to segement the audio based on the silences in the video. This is useful for subtitling as we then have splits by the segments for each subtitle caption to be shown. We also ensure that the max duration of each audio segment is not too long (less than 8s), so that the subtitle for each segment is readable.
We display the first segement as an audio player in the notebook to listen.
import auditok

def segment_audio(audio_name):
  audio_regions = auditok.split(audio_name,
    min_dur=2,     # minimum duration of a valid audio in seconds
    max_dur=8,       # maximum duration of an audio segment
    max_silence=0.8, # maximum duration of tolerated continuous silence within an event
    energy_threshold=55, # threshold of detection
    sampling_rate=16000
  )
  for i, r in enumerate(audio_regions):
    filename = r.save(audio_name[:-4]+f'_{r.meta.start:08.3f}-{r.meta.end:08.3f}.wav')

segment_audio(audio_directory+'/temp.wav')

segments = [f for f in Path(audio_directory).glob(f'temp_*.wav')]
display(Audio(str(segments[0])))
Now we download and setup the model weights of the pre-trained model from the huggingface hub using the transformers library.
We download and load the Wav2Vec2 tokenizer and Automatic Speech Recognition (ASR) model.
from transformers import Wav2Vec2Processor, Wav2Vec2ForCTC

model_name = "facebook/wav2vec2-large-960h-lv60-self"
tokenizer = Wav2Vec2Processor.from_pretrained(model_name)
asr_model = Wav2Vec2ForCTC.from_pretrained(model_name)
Next we define a few functions to run the inference and create our .srt subtitle file.
clean_text- This is just a simple post-processing function to clean the output text from the ASR model with some simple regex.get_srt_line- This function helps return a.srtformat set of lines from an inferred text segment. This will include the start and ending time so the video player knows when to start and end the showing of the subtitle.get_subs- Our main function. This function will run each of the audio segment through the tokenizer and ASR model and save the inferred text output as a line in the subtitle file. Theoutput_fileis the.srtfile of the transcribed audio. During the process, we also print out the inferred text for each segment. Here you can see it is pretty accurate.
import soundfile
import torch
import datetime

def clean_text(text):
  clean_text = re.sub(r'  ', ' ', text)
  clean_text = re.sub(r'\bi\s', 'I ', clean_text)
  clean_text = re.sub(r'\si$', ' I', clean_text)
  clean_text = re.sub(r'i\'', 'I\'', clean_text)
  return clean_text

def get_srt_line(inferred_text, line_count, limits):
  sep = ','
  d = str(datetime.timedelta(seconds=float(limits[0])))
  try:
      from_dur = '0' + str(d.split(".")[0]) + sep + str(d.split(".")[-1][:2])
  except:
      from_dur = '0' + str(d) + sep + '00'

  d = str(datetime.timedelta(seconds=float(limits[1])))
  try:
      to_dur = '0' + str(d.split(".")[0]) + sep + str(d.split(".")[-1][:2])
  except:
      to_dur = '0' + str(d) + sep + '00'
  return f'{str(line_count)}\n{from_dur} --> {to_dur}\n{inferred_text}\n\n'

def get_subs(audio_directory, output_file):
  segments = sorted([f for f in Path(audio_directory).glob(f'temp_*.wav')])
  line_count = 0

  with open(output_file, 'w', encoding="utf-8") as out_file:
    for audio_file in segments:
      # Run Wav2Vec2.0 inference on each segemented audio file.
      speech, rate = soundfile.read(audio_file)
      input_values = tokenizer(speech, sampling_rate=16000, return_tensors = "pt", padding='longest').input_values
      logits = asr_model(input_values).logits
      prediction = torch.argmax(logits, dim = -1)

      # Decode and print out the inferred text
      infered_text = tokenizer.batch_decode(prediction)[0].lower()
      if len(infered_text) > 1:
        infered_text = clean_text(infered_text)
        print(infered_text)
      else:
        infered_text = ''

      #
      limits = audio_file.name[:-4].split("_")[-1].split("-")
      limits = [float(limit) for limit in limits]
      out_file.write(get_srt_line(infered_text, line_count, limits))
      out_file.flush()
      line_count += 1

get_subs(audio_directory, './video.srt')
robotics and self driving cars we have a jam packed g t c
before we jump into data centers
I want to show you something we've been building a conversational ai
you're going to see speech understanding natural language processing on the largest model ever trained
speech synthesis with my own voice character animation and beautiful ratrace graphics
all in real time toime was made with some amazing technologies that have become possible only recently
I asked a few friends to ask this cute little guy some tough questions
I hello hllo toginson
please ask me anything one of the greatest threats of climate change
the greatest threats of climate change are the effects on human health food security water supplies and the environment
do astronomers look for exo planets
most exa planets are found by the transit method that was the case for the trappist one planets
tell me more about that method
the transit method is when a planet passes in front of its star the amount of light block tells astronomers the size of the planet the duration of the
at tells astronomers the orbital period of the planet
a telescopes use that method
kepler's space telescope used a transit method to find thousands of xpliets
iheard about a satellite called tes that is used to find planets how does it work
tes is a space telescope that looks for transits
what roles do potins play in ourselves
proteins are the building blocks of the body they are the basic materials from which all living things are made they are needed for the structure function and reg
ation of the body's tissues and organs
proteins are made up of amena acids amena acids are the basic building blocks of proteins there are twenty different amena acids that link
he in different combinations to form different prochens
owdo they catalyze chemical reactions
proteins are biological catalists catalists are substances that speed up the rate of a chemical reaction without being consumed by the reactiond
sins are proteins that catalized increase the rate of by chemical reactions in the body thank you good bye
de
Next we want to use the ffmpeg application again to render the subtitle text on the video itself so we can preview it. We use the subprocess library again to do so.
from base64 import b64encode

def combine_subtitles(input_file,  subtitle_file, output_file):
  command = ["ffmpeg", "-i", input_file, "-vf", f"subtitles={subtitle_file}", output_file]
  subprocess.run(command)

combine_subtitles('./video.mp4', './video.srt', './video_subbed.mp4')
Now we want to display our subtitled video, because Google Colab has some problem using the IPython Video component, we have to use the workaround below which will load the video (as base64 encoded text) into memory and display it in a HTML5 video component in the browser. The subtitled text is at the bottom, you might need to hide the controls (move mouse away) to see the subtitles.
from IPython.display import HTML
from base64 import b64encode

mp4 = open('./video_subbed.mp4','rb').read()
data_url = "data:video/mp4;base64," + b64encode(mp4).decode()
HTML(f'<video width=1024 controls><source src="{data_url}" type="video/mp4"></video>')
We can connect to Google Drive with the following code. You can also click the Files icon on the left panel and click Mount Drive to mount your Google Drive.
The root of your Google Drive will be mounted to /content/drive/My Drive/. If you have problems mounting the drive, you can check out this tutorial.
from google.colab import drive
drive.mount('/content/drive/')
You can move the output files which are saved in the /content/ directory to the root of your Google Drive.
import shutil
shutil.move('/content/video_subbed.mp4', '/content/drive/My Drive/video_subbed.mp4')
shutil.move('/content/video.srt', '/content/drive/My Drive/video.srt')
More Such Notebooks
Visit or star the eugenesiow/practical-ml repository on Github for more such notebooks:
Alternatives to Colab
Here are some alternatives to Google Colab to train models or run Jupyter Notebooks in the cloud: